


Inspect window channels for damage and poor condition indicating replacement needs. Choose durable materials like vinyl or aluminum for aesthetic appeal and longevity. Prepare surface, cut out damaged section, apply adhesive, and insert new channel for precise fit.
“Thinking about replacing your window channels? It’s a crucial step in enhancing energy efficiency and maintaining indoor comfort. This guide offers valuable insights into the process, from assessing your current window channels for replacement needs to choosing suitable materials and designs. Learn how to seamlessly install new ones with our step-by-step instructions for a successful window channel replacement.”
- Assessing Your Window Channel for Replacement Needs
- Choosing the Right Materials and Design
- Step-by-Step Guide to Seamless Installation
Assessing Your Window Channel for Replacement Needs
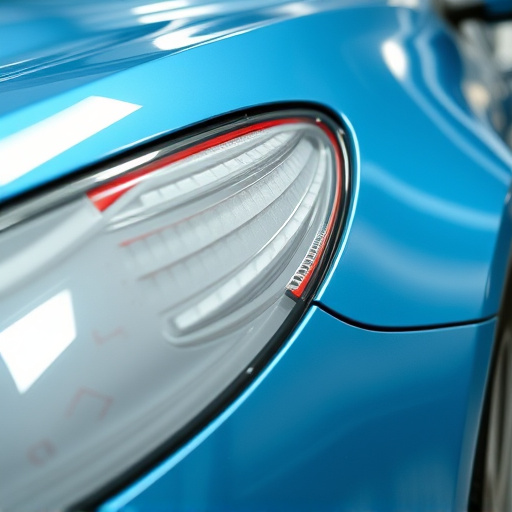
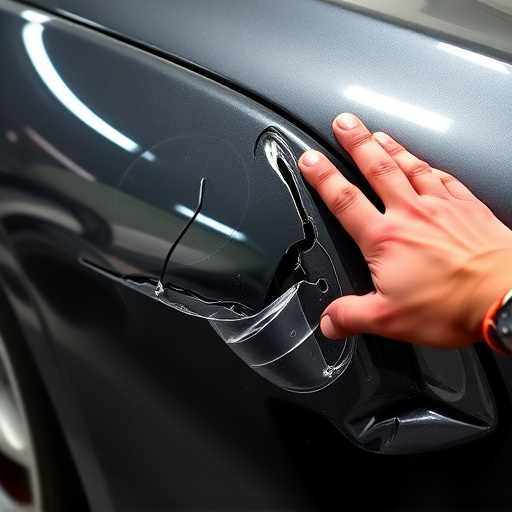
Assessing your window channel for replacement needs is a crucial first step when considering a window channel replacement project. Start by inspecting the existing channel for any signs of damage, rot, or corrosion. These issues can compromise the structural integrity and security of your windows. Look for cracks, warping, or misalignment that might indicate the need for a full replacement. Additionally, check for proper drainage and sealing to ensure water doesn’t seep into your home.
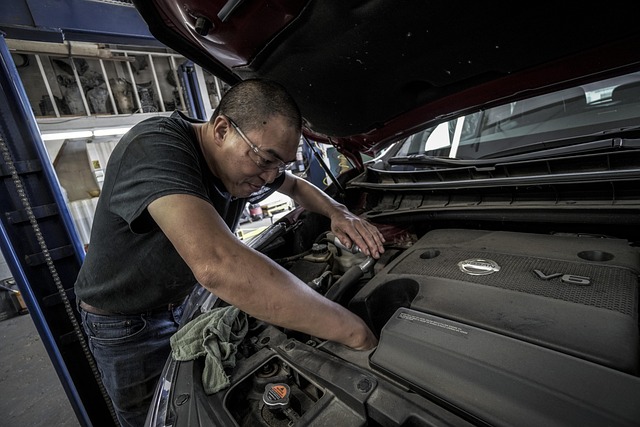
Consider factors like the age of the channel, the type of material it’s made from (vinyl, aluminum, wood), and its overall condition in relation to the rest of your window framework. If you’re noticing persistent water damage, drafts, or difficulty opening and closing your windows, these are strong indicators that a replacement may be necessary. Fleet repair services, collision repair services, or auto body services specializing in window channel replacements can provide expert assessments and solutions tailored to your specific needs.
Choosing the Right Materials and Design
When undertaking a window channel replacement, selecting the appropriate materials and design is paramount to ensure longevity and aesthetic appeal. High-quality vinyl or aluminum are popular choices due to their durability, low maintenance requirements, and resistance to corrosion. The design should complement your vehicle’s existing style, aligning with its curves and overall look. Consider factors like color, texture, and finish to create a seamless fit that enhances the vehicle’s appearance without compromising structural integrity.
Choosing materials and designs specific to your vehicle model ensures precise fitting, preventing issues that could arise from generic replacements. This attention to detail not only preserves the original aesthetics but also reinforces structural stability, ensuring optimal performance during auto repair near you or regular auto maintenance checks.
Step-by-Step Guide to Seamless Installation
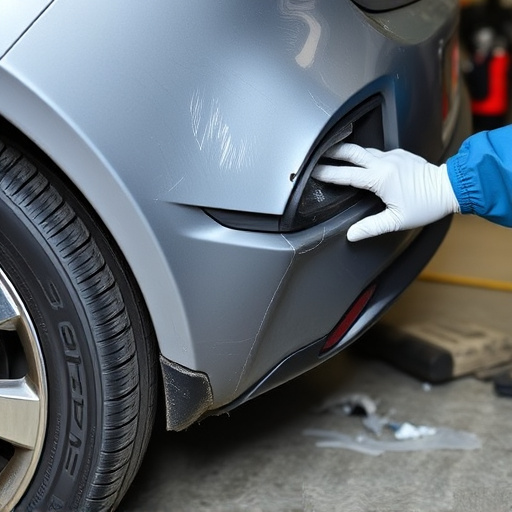
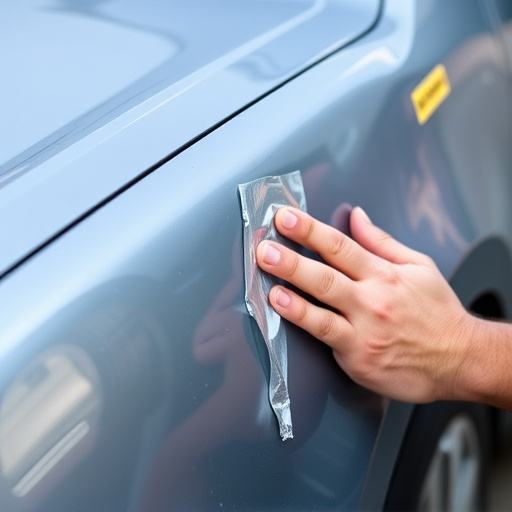
Starting the installation process with a clean and level surface is crucial for a seamless window channel replacement. Remove any debris or existing caulk from the area to ensure proper adhesion. Measure and mark the location of the new channel, ensuring it aligns accurately with the vehicle’s structure. Using a utility knife, carefully cut out the damaged section of the channel, creating a precise fit for the replacement piece.
Next, apply a thin layer of high-quality silicone adhesive along the inner edges of the newly cut channel and the replacement channel. Align and insert the new channel, pressing firmly to create a secure bond. Allow the adhesive to set according to the manufacturer’s instructions before proceeding. This meticulous approach guarantees that your window channel replacement is not only functional but also aesthetically pleasing, mirroring the original design—even in comparison to top-tier auto body services like Mercedes Benz collision repair.
Properly installed window channels significantly enhance both the functionality and aesthetics of your windows. By assessing your current channels, selecting durable materials, and following a detailed installation guide, you can ensure a seamless process. Remember that a well-executed window channel replacement not only improves the overall look but also contributes to better energy efficiency in your home or office. These tips serve as a solid foundation for achieving a successful window channel replacement project.