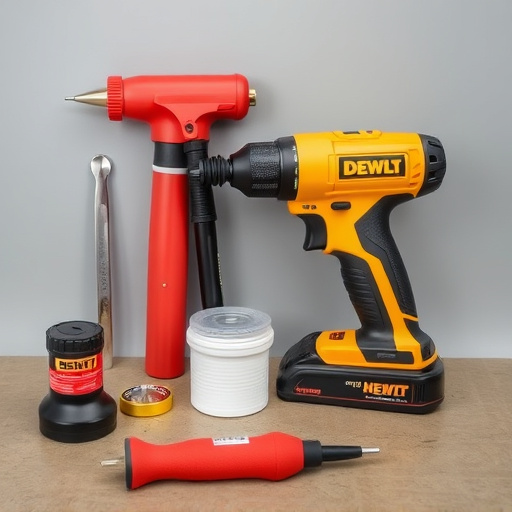


Before cleaning new window channels after replacement, gather essential tools like bucket, detergent, soft brushes, hose, and gloves. Remove old sealants, vacuum debris, then use chemical degreaser or all-purpose cleaner for stubborn residue. Rinse thoroughly with water to avoid damaging new sealants, focusing on meticulous cleaning for auto restoration projects. Proper preparation ensures vehicle bodywork appears as good as new after window channel replacement.
After replacing your window channels, proper cleaning ensures a seamless finish and optimal performance. This guide walks you through the essential steps, focusing on effective techniques for post-replacement maintenance. From gathering the right tools to meticulous rinsing, each stage is crucial in achieving pristine results. Discover how to remove old sealants and debris without damage, ensuring your new window channel replacements look as good as they function.
- Prepare for Cleaning: Gather Tools and Materials Needed
- Remove Old Sealants and Debris from Channels
- Properly Clean and Rinse Window Channel Replacement Areas
Prepare for Cleaning: Gather Tools and Materials Needed
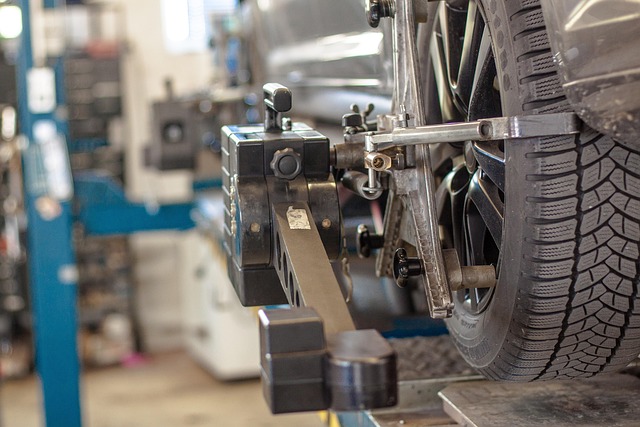
Before diving into cleaning your newly replaced window channels, ensure you have all the necessary tools and materials at hand. This includes a good quality bucket, mild detergent or soapy water, soft brushes or rags, a garden hose for rinsing, and possibly protective gloves to keep your hands clean. A gentle cleaner specifically designed for car bodywork services is ideal, as it won’t scratch or damage the surface, especially if you’re dealing with intricate designs.
Remember, proper preparation is key when handling window channel replacement and cleaning. Gathering the right tools and materials will not only make the cleaning process easier but also ensure your newly installed channels look as good as new. This step is particularly important to maintain the aesthetic appeal of your vehicle’s exterior, especially if you’ve invested in high-quality auto painting or fender repair services.
Remove Old Sealants and Debris from Channels
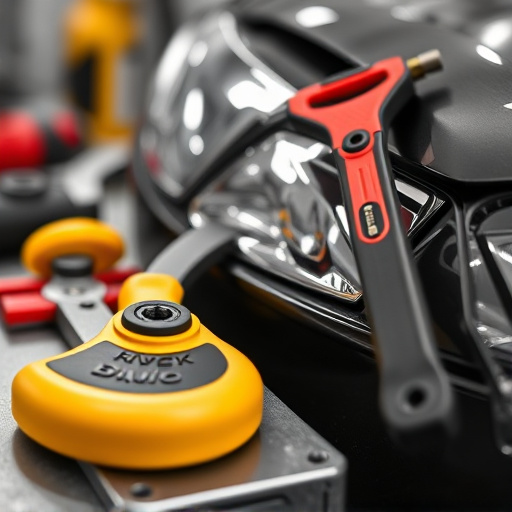
Before cleaning the new window channels after a replacement, it’s crucial to remove any old sealants and debris that might have accumulated over time. Start by carefully peeling away any remaining caulk or weatherstripping from the channel’s interior using a utility knife or a flat-head screwdriver. Be gentle to avoid damaging the channel itself. Once the old materials are removed, use a vacuum cleaner with a small nozzle attachment to suck out any dust, dirt, or loose particles that have settled into the crevices.
For stubborn residue, apply a small amount of chemical degreaser or all-purpose cleaner directly onto the channel and let it sit for a few minutes. This will help dissolve any grease or grime. Then, use a soft brush or cloth to scrub away the cleaner along with any remaining debris. After scrubbing, rinse the channel thoroughly with water to ensure no chemicals remain, which could potentially damage the new window sealants used during replacement. For an automotive body shop or car bodywork services, this meticulous cleaning step is essential for maintaining not just the aesthetic appeal but also the functionality of vehicle restoration projects.
Properly Clean and Rinse Window Channel Replacement Areas
After removing the old window channel, it’s crucial to thoroughly clean and rinse the replacement area. Start by clearing away any debris or dust that may have accumulated during the installation process. Use a soft brush or cloth to gently sweep away loose particles, ensuring you don’t scratch the newly installed window channel. Once the surface is clear, rinse the area with clean water to wash away any lingering contaminants. This step is essential to prevent dirt and grime from setting in, which could negatively impact the appearance of your vehicle’s bodywork.
For best results, consider using a mild detergent or cleaning solution designed for automotive applications. This will help remove stubborn stains or marks without damaging the channel or surrounding car scratch repair areas. After rinsing, dry the region completely to avoid water spots and ensure a professional finish. Proper cleaning and rinsing are essential components of the window channel replacement process, ensuring your vehicle looks as good as new in the automotive body shop.
After successfully installing new window channels, proper cleaning ensures a seamless finish. Remove any old sealants and debris using appropriate tools to prevent damage. Thoroughly clean and rinse the replacement areas to achieve a spotless, enhanced appearance for your window channels, ensuring optimal functionality and a satisfying result from your window channel replacement project.